This step by step guide provides instructions on how to configure your Salesforce installation to allow BuiltWith to push results to it using the Lighting Experience Manager.
You can watch this video instead, it shows the steps required to get the Connected App setup in Salesforce.
You need to be a Salesforce System Administrator to perform these steps and REST API Permissions enabled.
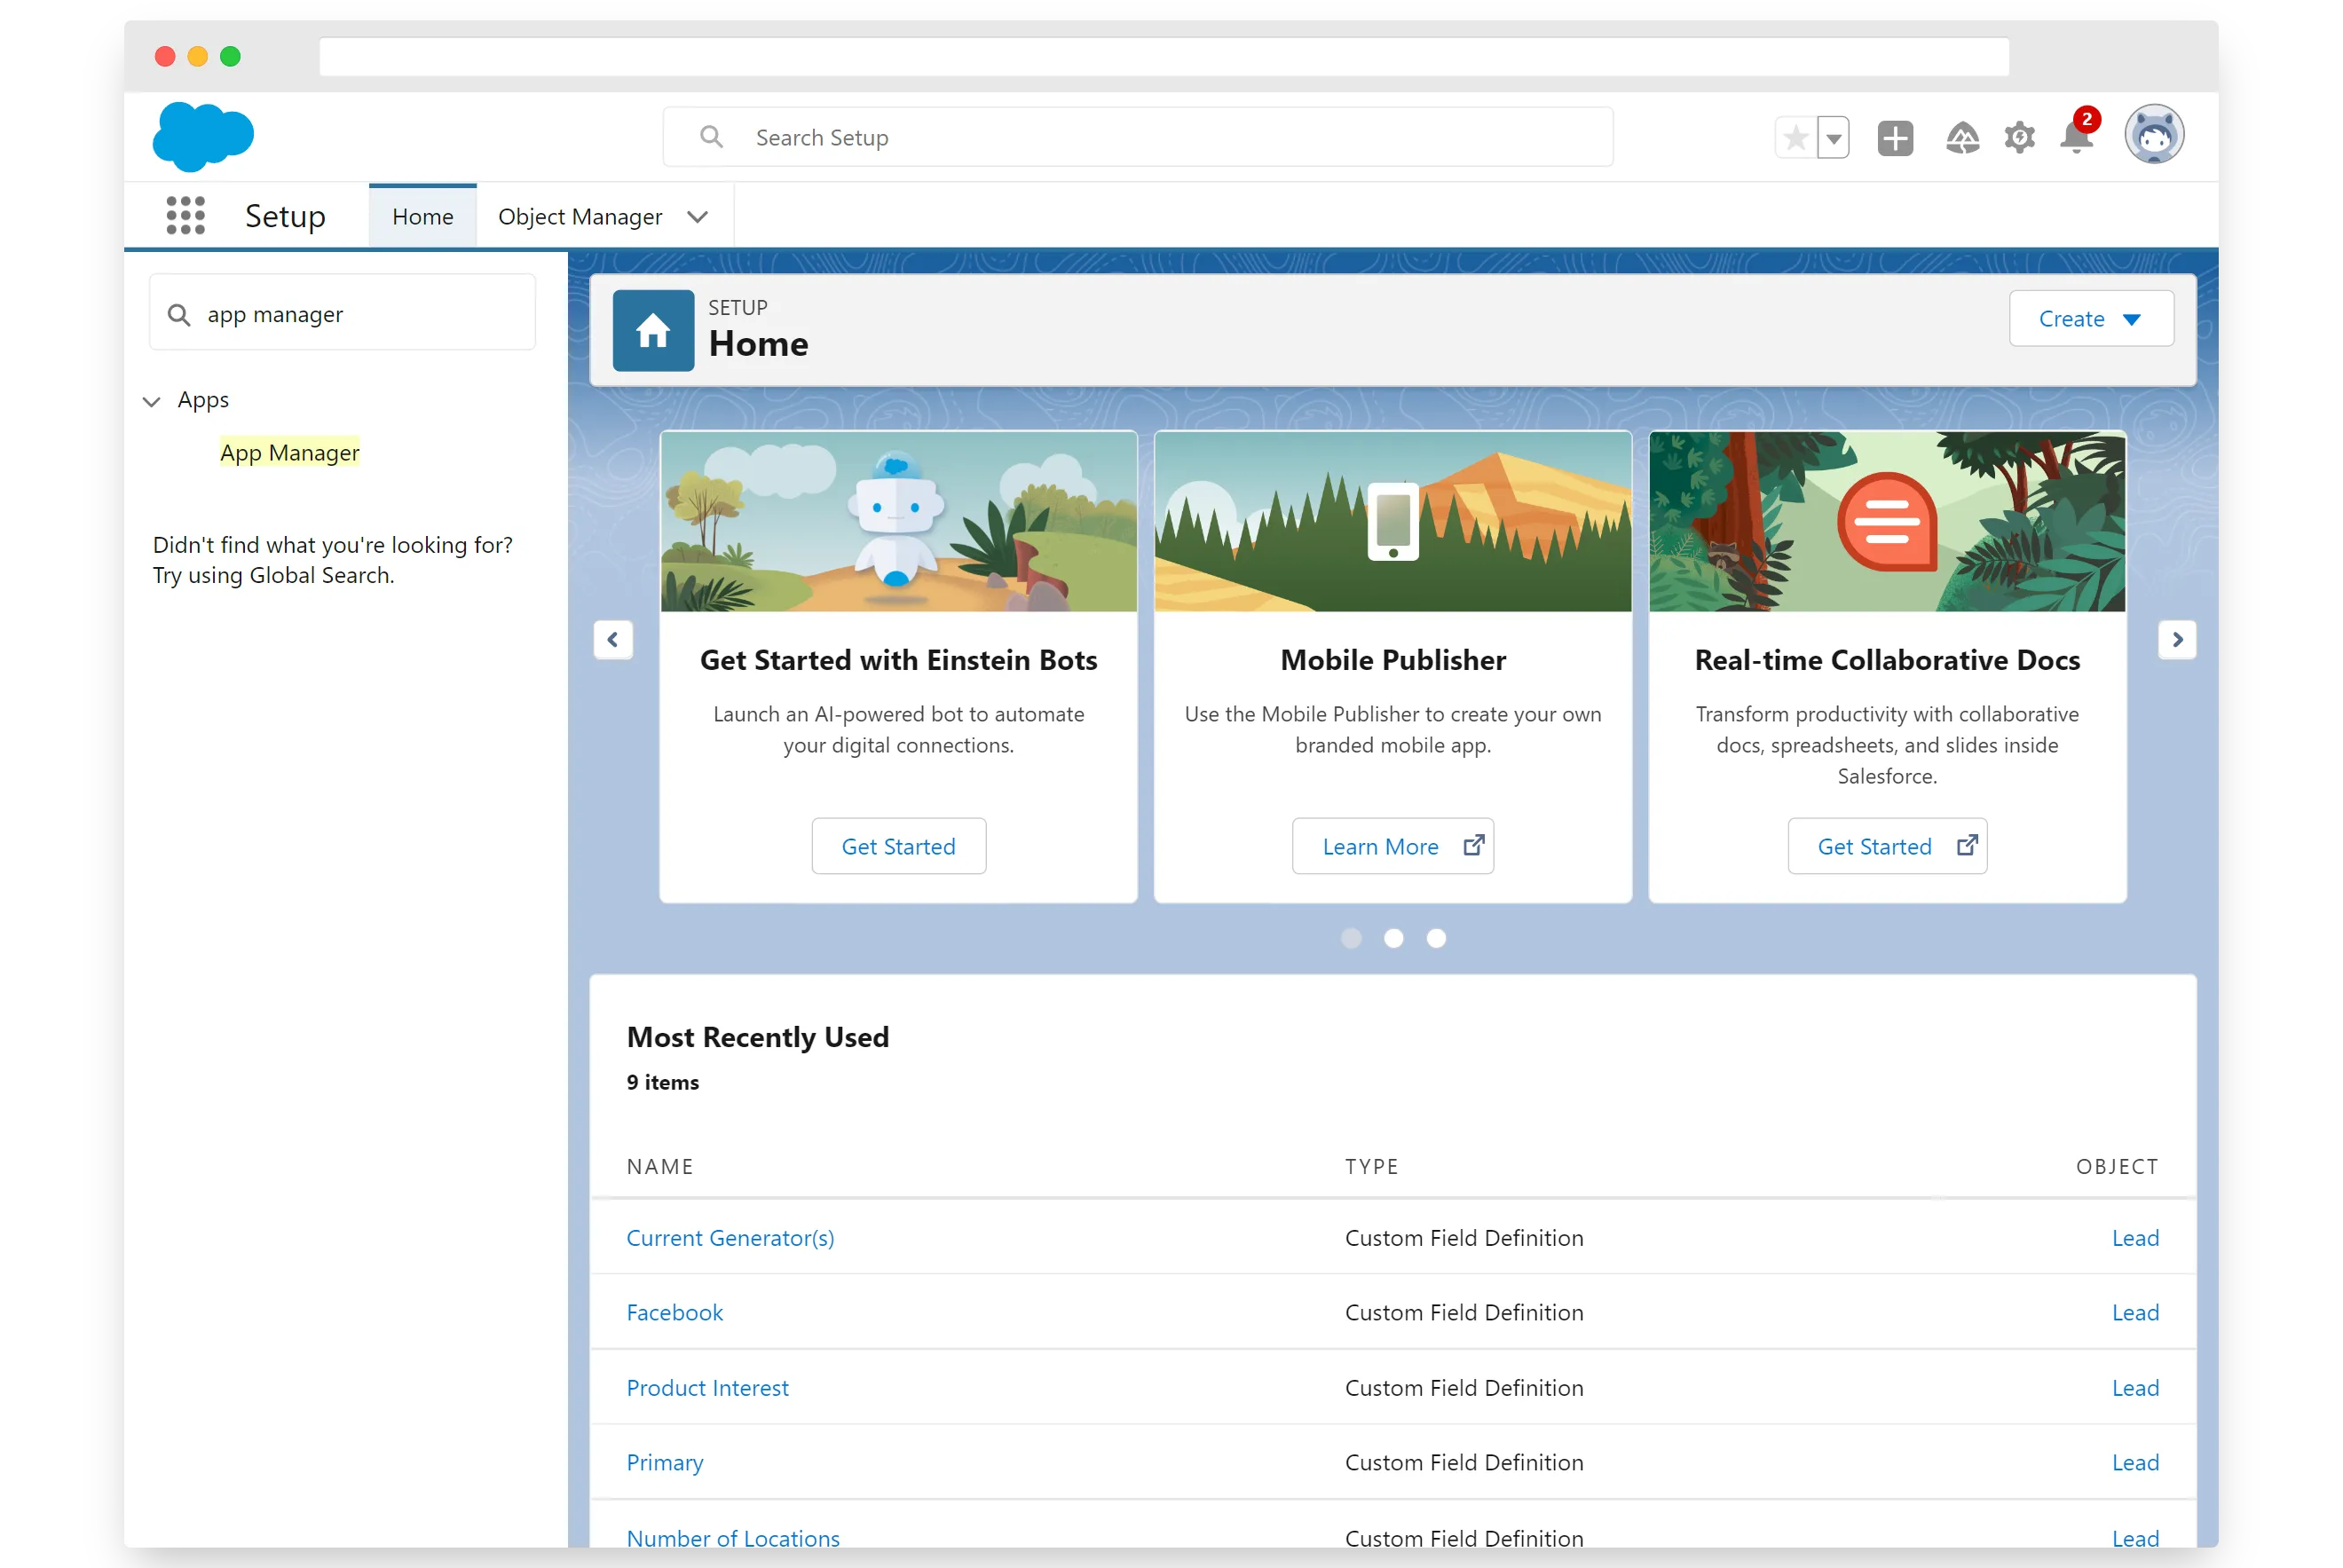
Click “Setup” on your Salesforce lighting experience dashboard and search for 'App Manager' in the sidebar
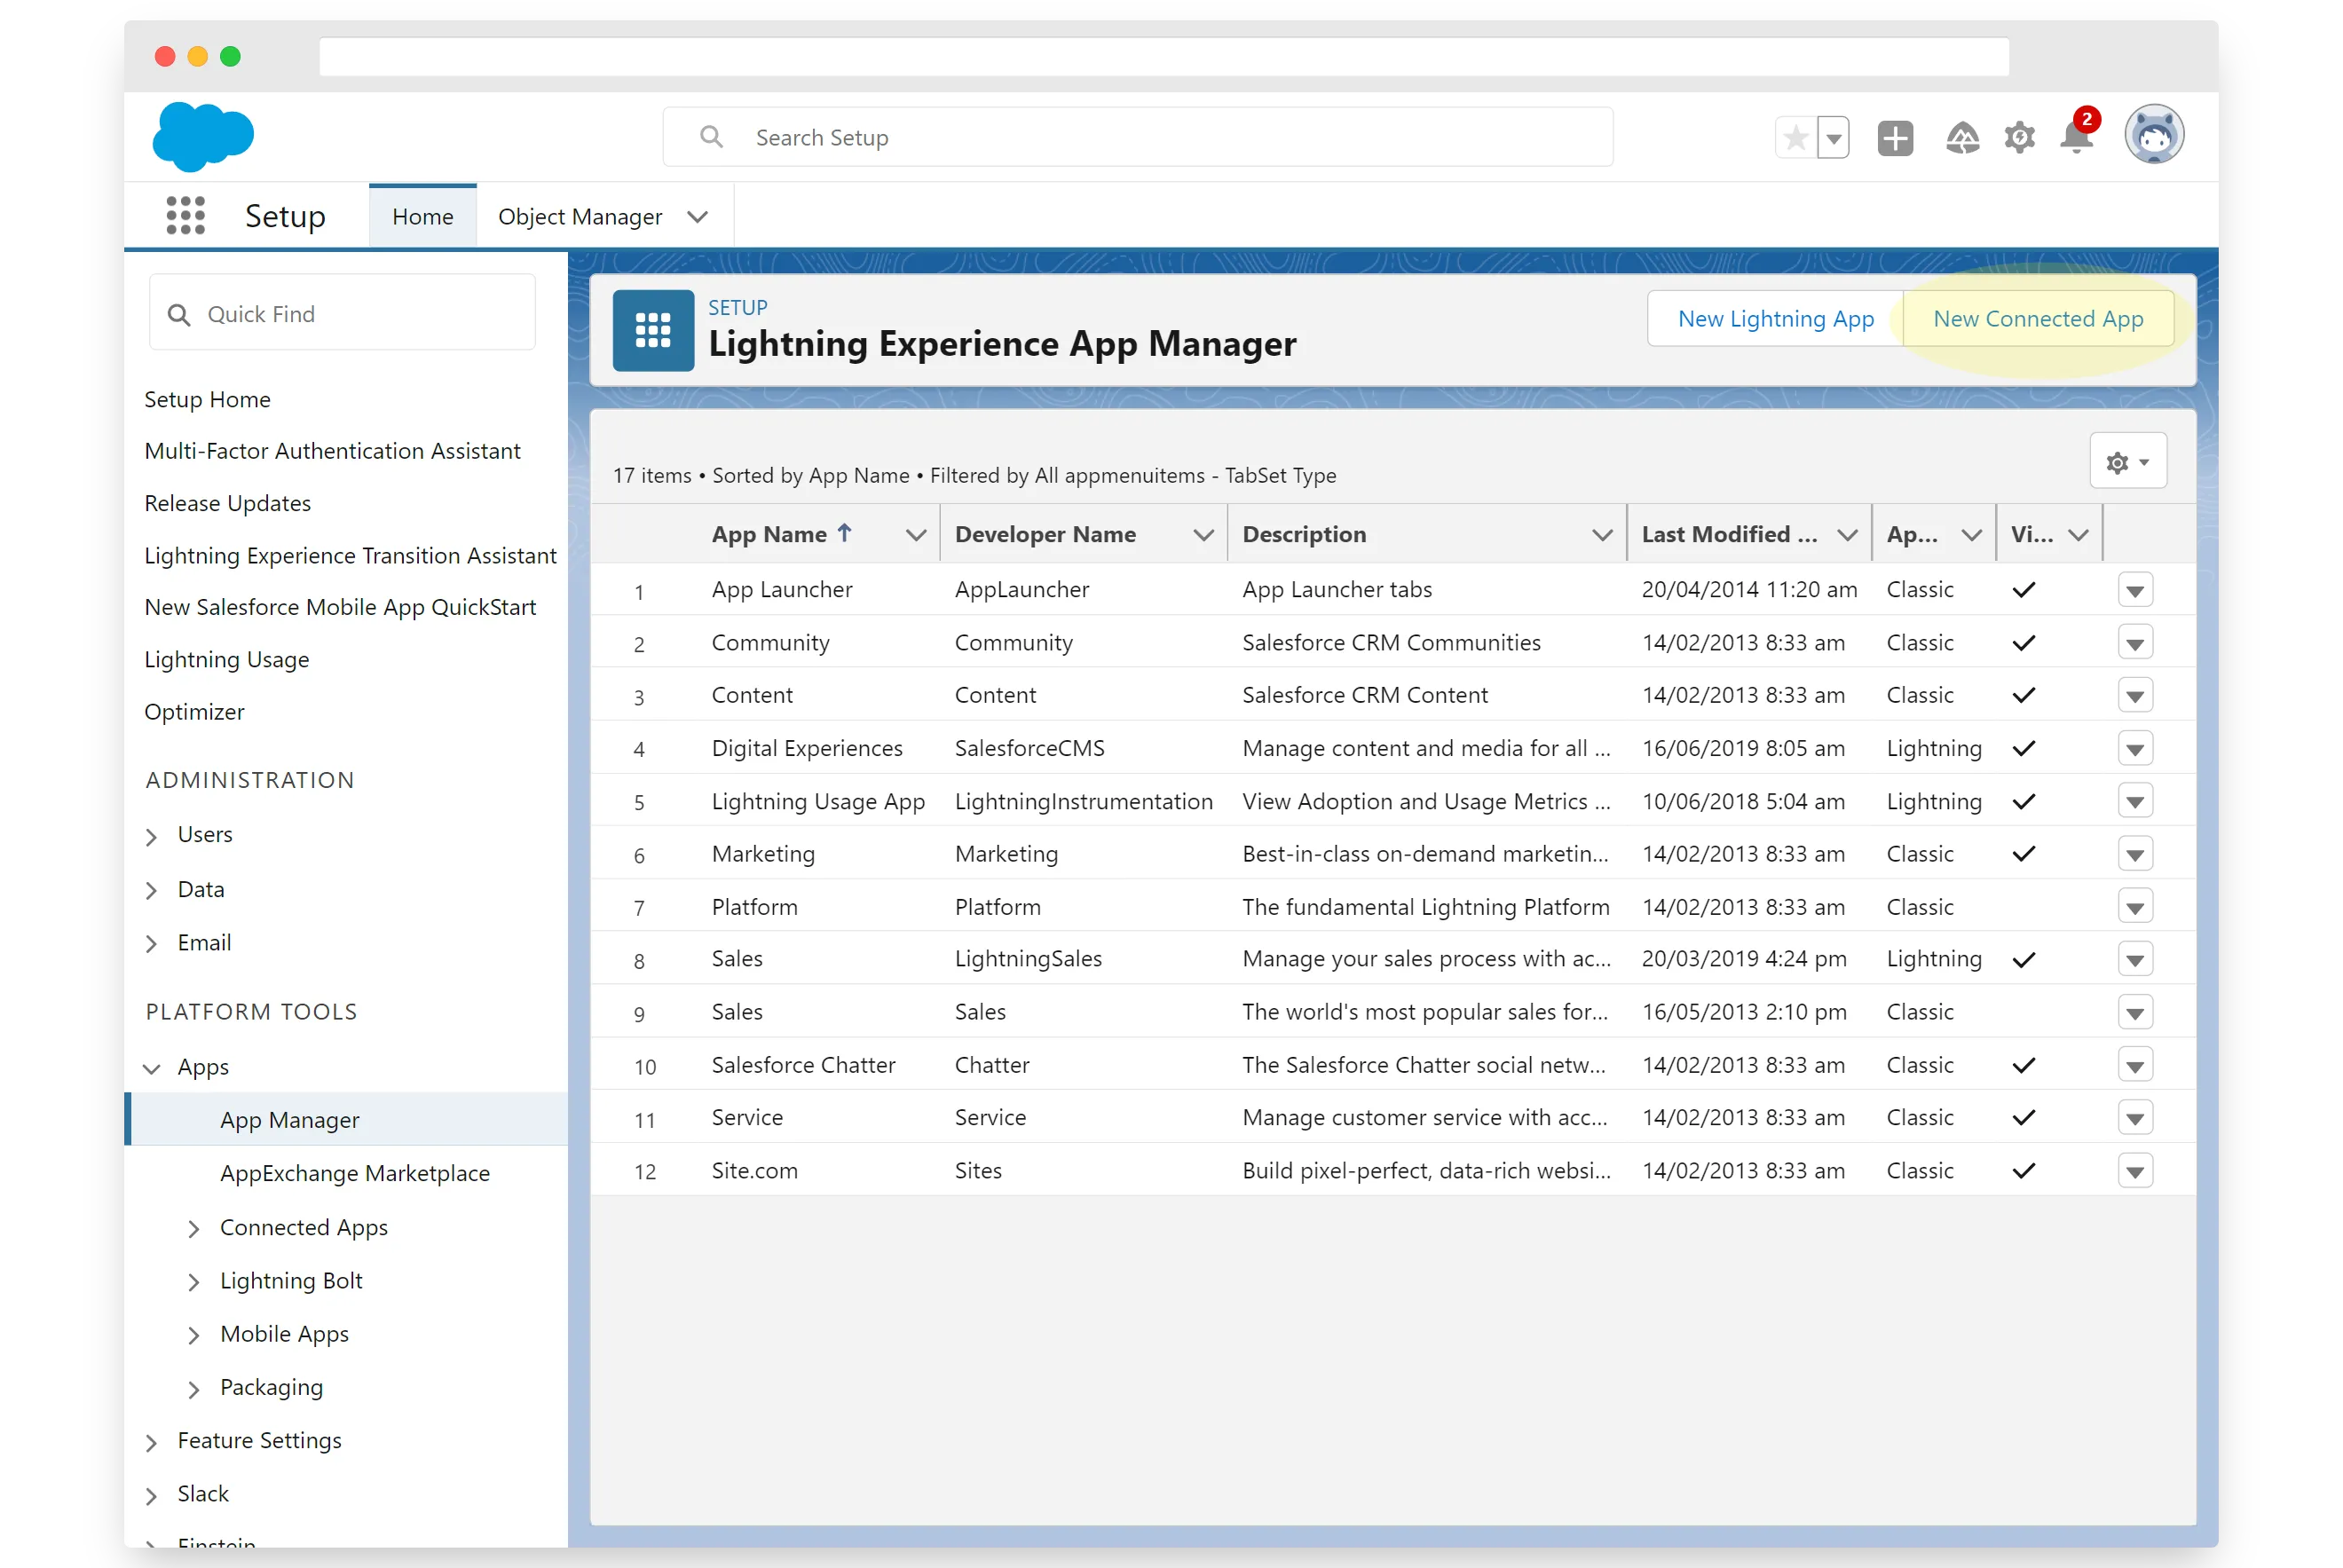
Click 'New Connected App' button on the Lighting Experience App Manager Dashboard
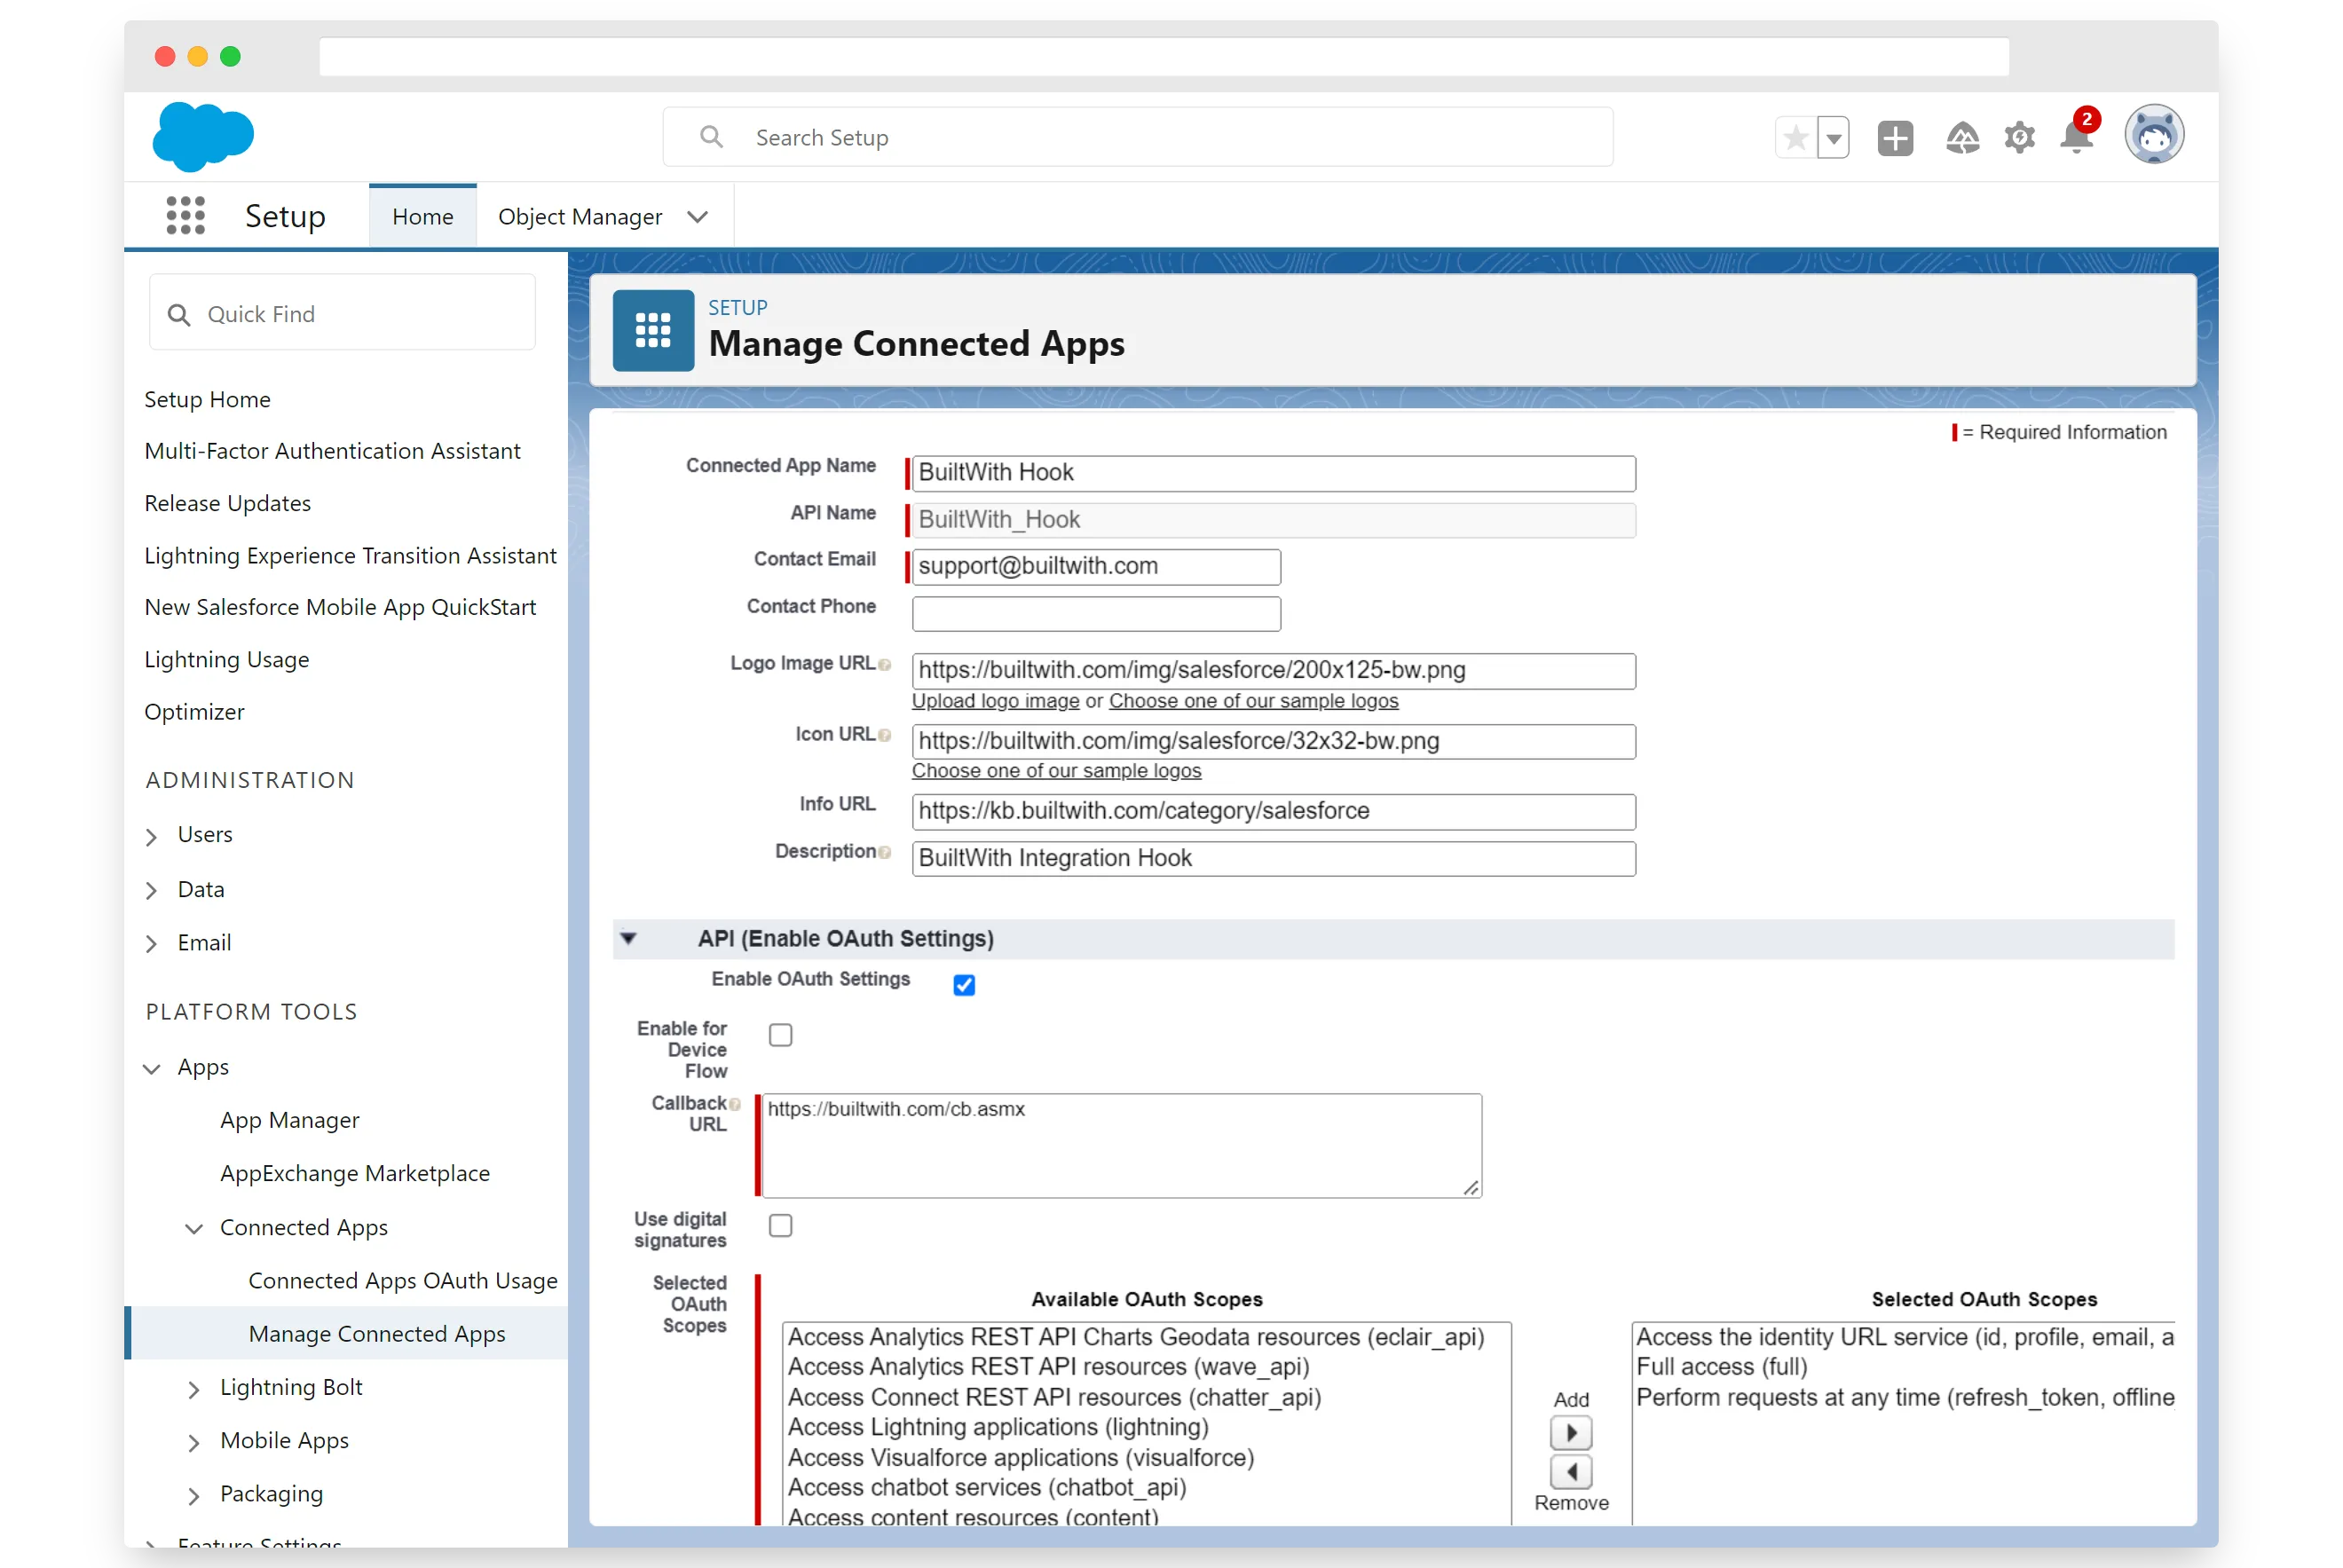
Enter Hook Information as Shown Below -
Connected App Name: BuiltWith Hook
API Name: BuiltWith_Hook
Contact Email: support@builtwith.com
Logo Image URL: https://builtwith.com/img/salesforce/200x125-bw.webp
Icon URL: https://builtwith.com/img/salesforce/32x32-bw.webp
Info URL: https://kb.builtwith.com/category/salesforce
Description: BuiltWith Integration Hook
Tick "Enable OAuth Settings"

Very Important!
Untick "Require Proof Key for Code Exchange (PKCE) Extension for Supported Authorization Flows"
Callback URL: https://builtwith.com/cb.asmx
Add the Following OAuth Scopes:
Access the identity URL service (id, profile, email, address, phone)
Full access (full)
Perform requests on your behalf at any time (refresh_token, offline_access)
Open the newly created app in the App Manager and click the 'Manage Consumer Details' button.

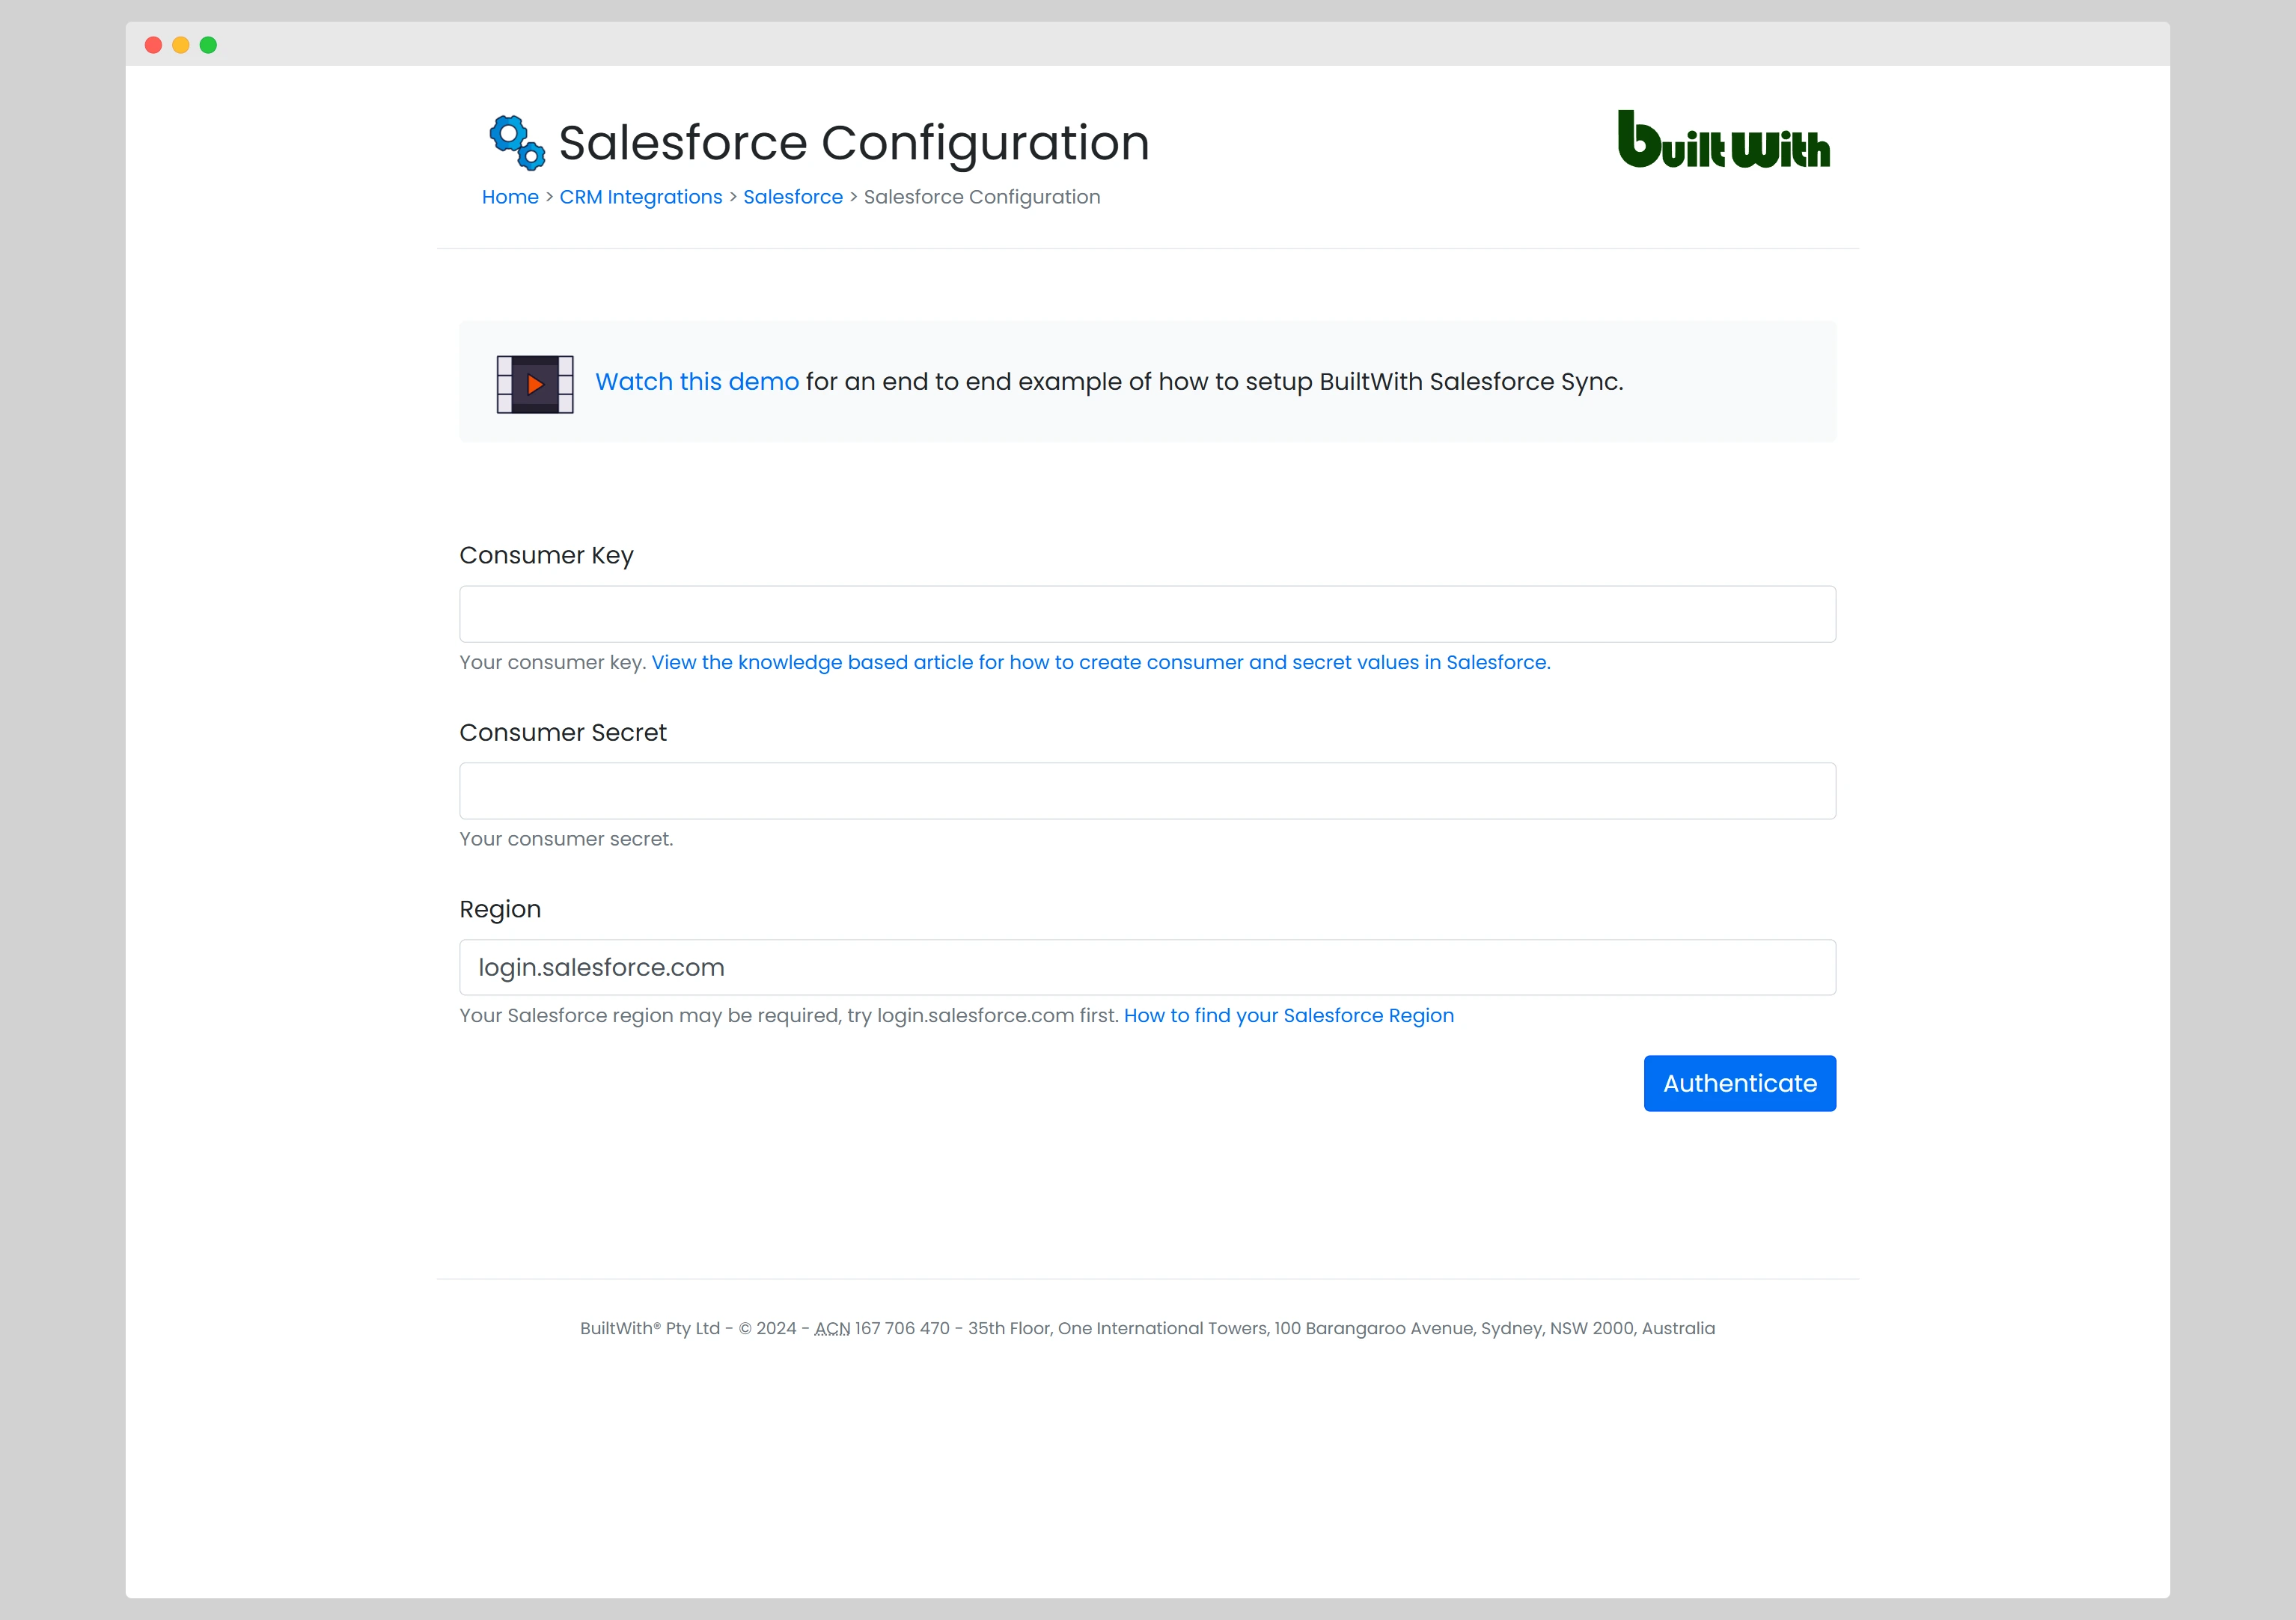
Copy the Consumer Key and Consumer Secret that will be displayed after you save the Hook. Paste these into the boxes on the Authenticate Page
Allow Access
